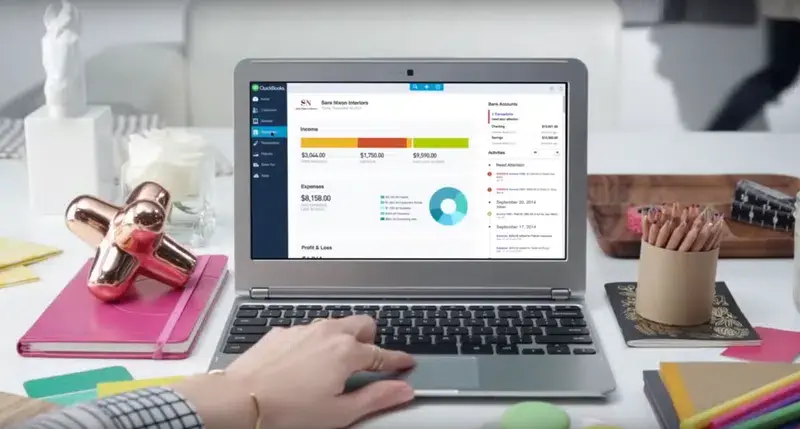
Streamlining Finances: A Step-by-Step Guide on Connecting Your Bank Accounts to QuickBooks Online
- Rita McDaniel
- Mar 1, 2024
- 2 min read
In the fast-paced world of business, efficient financial management is crucial for success. QuickBooks Online is a powerful tool that can help businesses of all sizes keep their finances organized and make informed decisions. One of the key features of QuickBooks Online is the ability to connect your bank accounts, which streamlines the process of managing transactions, reconciling accounts, and generating financial reports. In this blog post, we'll guide you through the step-by-step process of connecting your bank accounts to QuickBooks Online.

Step 1: Set Up a QuickBooks Online Account
Before you can connect your bank accounts, you need to have a QuickBooks Online account. If you don't have one, sign up for a subscription that suits your business needs.
Step 2: Log in to QuickBooks Online
Once you have your QuickBooks Online account, log in to the platform using your credentials. Navigate to the dashboard, where you'll find the main menu.
Step 3: Access the Banking Tab
In the main menu, locate and click on the "Banking" tab. This is where you'll manage all your connected accounts and transactions.
Step 4: Connect Your Bank Account
To connect your bank account, click on the "Connect Account" button. QuickBooks Online will prompt you to search for your bank. Type in the name of your bank and select it from the list.
Step 5: Enter Your Bank Credentials
After selecting your bank, you'll need to enter your online banking credentials. This is a secure process facilitated through a secure connection to your bank's servers. Follow the prompts to provide the necessary information.
Step 6: Choose the Accounts to Connect
Once you've entered your credentials, QuickBooks Online will retrieve a list of your accounts. Select the specific accounts you want to connect to QuickBooks Online. You can choose checking, savings, credit card, and other relevant accounts.
Step 7: Review and Confirm
After selecting your accounts, review the information and ensure accuracy. QuickBooks Online will display a summary of the accounts you're connecting. If everything looks correct, confirm the connection.
Step 8: Categorize Transactions
Once your bank accounts are connected, QuickBooks Online will start importing transactions. Review and categorize each transaction to ensure accurate financial records. You can assign categories, add memos, and match transactions to existing entries.
Step 9: Reconcile Your Accounts
Regularly reconcile your accounts in QuickBooks Online to ensure that the transactions in the system match your actual bank statements. This step helps identify any discrepancies and ensures the accuracy of your financial data.


Comments